This is an old revision of the document!
Table of Contents
Social Login overview
- Social Logins are also supported in RADIUSdesk and is configured as part of the Dynamic Login Pages.
- Unlike some hardware vendors which Only support Facebook (https://www.facebook.com/business/facebook-wifi), RADIUSdesk makes use of Hybridauth which is a Multi-provider authentication framework.
- This allows you to include other providers besides Facebook.
- Hybridauth includes support for many providers.
- The lastest list of supported providers can be found on this page: Hybridauth Supported Providers
- Using this approach we are now free to use the hardware of our choice. This include any hardware which can run a CoovaChilli captive portal or any Mikrotik captive portal.
- Both Mikrotik and CoovaChill captive portals (hotspots) can make use of the Social Login feature which is part of RADIUSdesk
How does Social Login work on RADIUSdesk?
The basics
- RADIUSdesk supports three Providers out-of-the-box.
- Facebook
- Google+
- Twitter
- Each Dynamic Login Page has an option where we can configure zero or more of the supported Providers.
- If one is configured there will appear a Social Login button for that Provider on the Dynamic Login Page.
- When the user then click on the Login with Facebook button they will be:
- Authenticated to the captive portal with a temporary account and redirected to the authentication provider's login page.
- If the user was already authenticated with the authentication provider, they will be redirected back to Dynamic Login Page and the temporary session will be terminated and the Permanent User or Voucher associated with that person will be used to authenticate to the captive portal.
- If the user was not yet authenticated with the authentication provider, they will be asked to provide their credentials on the provider's login page.
- If their authentication at the provider was successful, they will be redirected back to the Dynamic Login Page and the temporary session will be terminated and the Permanent User or Voucher associated with that person will be used to authenticate to the captive portal.
- For those readers who love pictures and flow diagrams, we created a flow diagram before the development started (just as they taught us in high school
 ). You can view it here: facebook_overview
Now we know the basics we can look into some of the important points mentioned. Each of these points will be covered in its own little section.
- The user used for the temporary session.
- The configuration of the Providers
- Common to all
- Facebook
- Google+
- Twitter
The user used for the temporary session
- Because we can make use of multiple providers we decided to rather not going the route of providing a large and ever changing list in the Walled garden for each strategy of the captive portal in order for you to reach the authentication provider.
- We make use of a temporary user account which will log the user into the captive portal and then redirect them to the authentication provider's login page.
- You can choose per Dynamic Login Page which temporary user to use.
- These can be any Permanent User.
The temporary user's profile
- We recommend that you limit the temporary user account in some way so it will not have
full access. - You might want to limit the profile of this user by making the Session-Timeout reply value small e.g. 3600 (five minutes).
- This way the user has 5 minutes to provide their credentials on the authentication provider starting from the moment they clicked the Connet with … button.
- Should a user then misuse this temporary user account to connect to your captive portal instead of their social login it will annoy them endlessly to reconnect every 5 minutes
 . (This account detail is hidden from the users and only very technical people will be able to discover it)
 - You might also want to limit the bandwidth of the profile belonging to this temporary user account to further frustrate the Internet experience of people misusing it.
Activating and selecting a temporary user
- First create a Permanent User with a profile containing the recommendations above.
- Select the Dynamic Login Page which you want to incorporate Social Logins with and edit the page.
- The last tab is Social login.
- Click Enable and select the Permanent User you created.

- Click Save to commit your selection.
- At his stage we have not defined any providers and there will thus not be any Social Login buttons displayed on the Login Page.
- Next we will cover the common elements among the Providers which you can define.
Common to all Providers
- Each Provider which you define has some common elements.
- You have to choose:
- Whether to auto-create a Voucher or Permanent User the first time a user authenticated with success using the authentication provider.
- Specify the Realm this Voucher or Permanent User should belong to.
- Specify the Profile this Voucher or Permanent User should belong to.
- Specify if the Provider is Enabled or not.
- Specify if the system should record / update the personal info obtained from the authentication provider.
Things to remember
- We can only record the info which the authentication provider gives us. Twitter for instance will not give out email addresses.
- RADIUSdesk only record the info in a database table. The data-mining and application of the info is for you to decide.
- You can treat each authentication provider different. Facebook users can for instance be Voucher based with a one Realm and Profile. Google Plus users can on the other hand be Permanent User based and use another Realm and Profile.
- To implement Facebook integration you need to create a Facebook application on Facebook and then also use those details in RADIUSdesk.
Facebook side
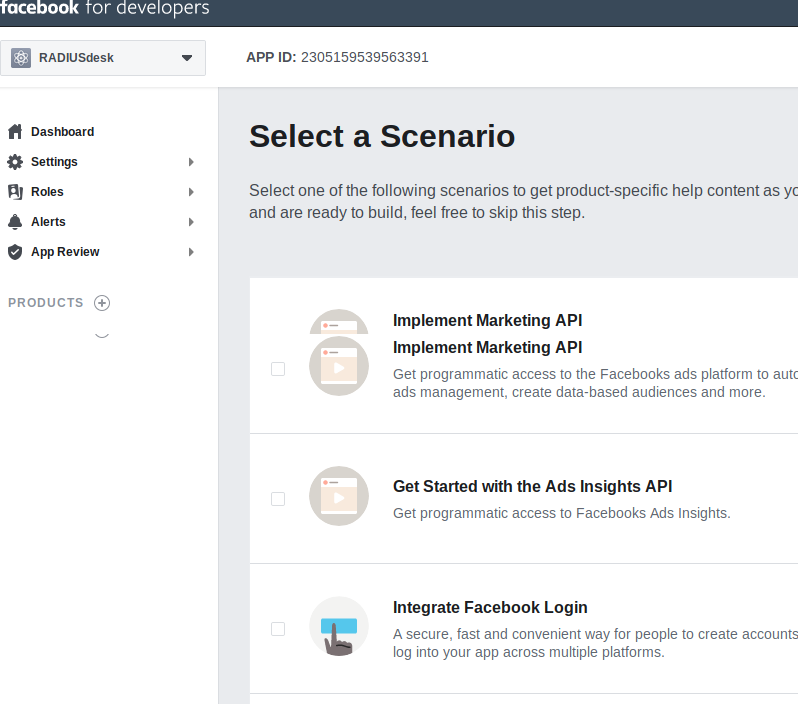
- Active the Developer side of Facebook and create a Facebook application. (https://developers.facebook.com/apps)
- Below you can see how it looks when we have not yet defined any applications. Go to My Apps → Create New App.

- You will need to specify a name for the App and also a valid contact email address.

- You will also be required to verify that you are human


- Go to the Settings of the application and specify the URL of the server where you will serve the login pages from.
- Beware that Facebook require that the redirected URL be precisely the same as the one specified. This means that if your login page on the captive portal looks like http://69.30.244.107/ you also have to mirror that. If on the other hand you use a hostname, be sure that they also match e.g http://rd01.wificity.asia/
- Record the application's App ID and App Secret since we will need it in RADIUSdesk.
- Select the Status and Review menu item and make sure the application is live and available to the general public.
Failing to make the application available to the general public will render the Facebook authentication useless.
RADIUSdesk side
- Select the Dynamic Login Page where you want to activate Facebook integration and edit it.
- Select the Facebook sub-tab under Social login and specify the App ID and App Secret along with the other options.
- Click Save to commit the changes.

Try it out
- Now you can try the Facebook login out from a Captive Portal that makes use of the specific Dynamic Login Page.


- To implement Google integration you need to create a Create an OAuth 2.0 client ID and then also use those details in RADIUSdesk.
Google side
- Create a Google APIs project at https://code.google.com/apis/console/
- Go to APIs and auth.
- Select credentials → OAuth.
- Click the Create new Client ID button and supply the required values.
- Make sure that redirect URI contains a hostname and NOT an IP Address. If your RADIUS server's hostname is rd01.wificity.asia the redirect URI will be: http://rd01.wificity.asia/cake2/rd_cake/auth/google/oauth2callback.
- Also make sure you specified the same hostname in the captive portal configuration and NOT an IP Address.
- Record the Client ID for web application's Client ID and Client secret since we will need it in RADIUSdesk.

RADIUSdesk side
- Select the Dynamic Login Page where you want to activate Google integration and edit it.
- Select the Google sub-tab under Social login and specify the Client ID and Client secret along with the other options.
- Click Save to commit the changes.

Try it out
- Now you can try the Google login out from a Captive Portal that makes use of the specific Dynamic Login Page.

- With Twitter like Facebook and Google you need to be a registered Twitter user.
Twitter side
- Create Twitter application at https://dev.twitter.com/apps
- Make sure to enter a Callback URL or callback will be disallowed. (Callback URL can be a made up one as Opauth will explicitly provide the correct one as part of the OAuth process.)
- See the following screenshots:

- Record the values of
- Consumer Key (API Key)
- Consumer Secret (API Secret)

RADIUSdesk side
- Select the Dynamic Login Page where you want to activate Twitter integration and edit it.
- Select the Twitter sub-tab under Social login and specify the Consumer Key and Consumer secret along with the other options.
- Click Save to commit the changes.

If you upgraded an existing install
If the redirect from the Social Login site does not authenticate you on the RADIUSdesk Login Page; check the following.
- Be sure to also update the policy.conf file in FreeRADIUS since there was a bug fix.
- You can grab the fixed file here: http://sourceforge.net/p/radiusdesk/code/HEAD/tree/trunk/rd_cake/Setup/Radius/policy.conf
- Replace the /usr/local/etc/raddb/policy.conf file
- Restart FreeRADIUS.